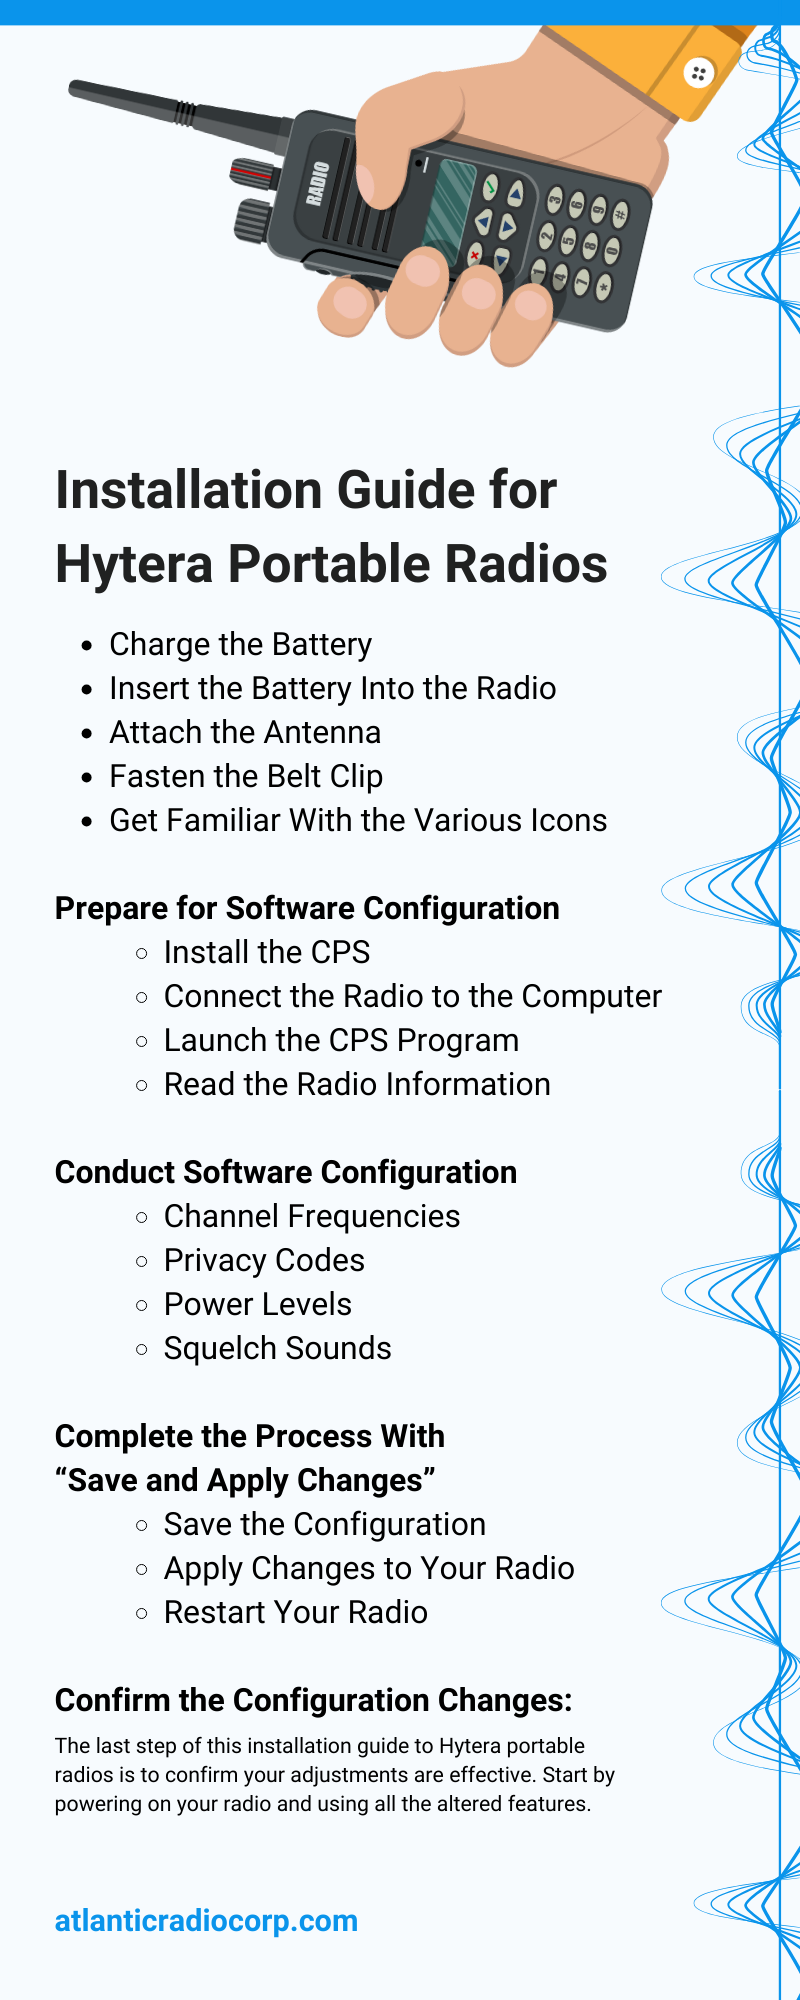
Installation Guide for Hytera Portable Radios
, by Joseph Gabriel, 6 min reading time
, by Joseph Gabriel, 6 min reading time
Setting up portable radios can be tricky when you’re unsure about the steps. You may encounter difficulties with complicated configuration settings. This comprehensive guide can help you carry out the installation process for Hytera portable radios smoothly.
Your Hytera portable radio won’t function without a fully charged battery. Before beginning, plug the charger into the power source and insert the battery. Be sure that the metallic contacts on the battery align with the charging pins in the charger.
The charger’s indicator light will turn red to signal that it’s charging. Once the light turns green, the battery is ready to go!
Placing the battery on the radio is straightforward. Align the battery with the back of the radio; the metallic contacts should face the radio. Push the battery upwards until it clicks into place.
Locate the antenna connection at the top of the radio unit. Ensure that the connection is clean and free of any debris. Hold the base of the antenna and screw it clockwise into the connection until it’s secure. Be careful not to overtighten, as this could damage the antenna or the radio.
Attaching the belt clip provides an easy way to carry the radio. Locate the slots on the back of the radio where you’ll attach the belt clip. Align the belt clip with these slots, then firmly press it into place until you hear a click that indicates it’s connected.
Make sure the clip is sturdy and doesn’t easily detach from the radio. Now, you can clip the radio to your belt or pocket!
Now that you’ve put the radio together, it’s time to work on more aspects of the setup. Getting familiar with various icons during operation can help you operate your radio. Here’s a quick rundown of some Hytera icons you should pay attention to:
Start by downloading the Hytera CPS (computer programming software) onto your computer. For the Hytera CPS to run efficiently, your computer should meet several system requirements, including Windows 7 or more recent operating systems and hard disk space of around 16 GB for 32-bit OS.
You’ll need to establish a secure connection between the radio and the computer to transfer the software. Use a USB cable to connect the Hytera radio to the computer, and data transfer can commence!
Open the CPS on your computer. You’ll be prompted with various programming options, which will give you the opportunity to customize your radio and make it easy to use.
In the CPS, select ‘Read’ to acquire the current configuration data of the radio. Confirm that the model number displayed matches the model number of your radio.
Now is the time to unlock the full potential of the radio. Everyone utilizes Hytera handheld radios differently, so the software configuration process will depend on its intended use. Here are some settings you can change:
Channel frequencies are fundamental aspects of radio communication. They determine the waves your radio will transmit and receive signals on. To configure your radio’s channel frequencies, navigate to the “Channel Information” section in the CPS.
Here, you can specify your desired frequencies for each radio channel. Remember to set frequencies that align with your licensed bandwidth for interference-free communication.
Hytera radios allow you to set privacy codes for secure communication. You can find this feature under the “Signaling” section in the CPS. Input a unique code for your radio to access the communication functions. This grants a layer of security to block unwanted listeners.
Power levels dictate the strength of your radio’s signal. Adjusting this setting helps you manage your radio’s range and battery life.
Navigate to the “Common” section and select “Power Level.” You can choose from four available levels, from Low to Super High. Bear in mind that a higher power level will consume more battery life but provide a broader range.
Squelch reduces background noise in radio communication. To set the level, go to the “Channel Information” in the CPS and select “Squelch Level.” You can select either “Tight” or “Normal.” A Tight setting will reduce more background noise but could block weak signals.
In the top menu of the CPS, select “File.” From the drop-down menu, select “Save” or “Save As” to store your configuration changes. We suggest naming the file for future reference. This is especially helpful if you need to program several radios the same way.
Next, you need to write these changes onto your radio. From the “Program” option in the top menu, select “Write To Radio.” This action will apply all the configuration changes you’ve made to your Hytera portable radio, so make sure it’s connected to your computer via a USB cable during this step.
After successfully writing the changes to your radio, disconnect your device from the computer and restart it. This will ensure that all the changes take effect.
The last step of this installation guide to Hytera portable radios is to confirm your adjustments are effective. Start by powering on your radio and using all the altered features. You can now communicate through new channels if you changed the frequencies or determine that conversations are secure after arranging privacy codes. If any feature doesn’t work as expected, revisit the configuration process.